NEW!
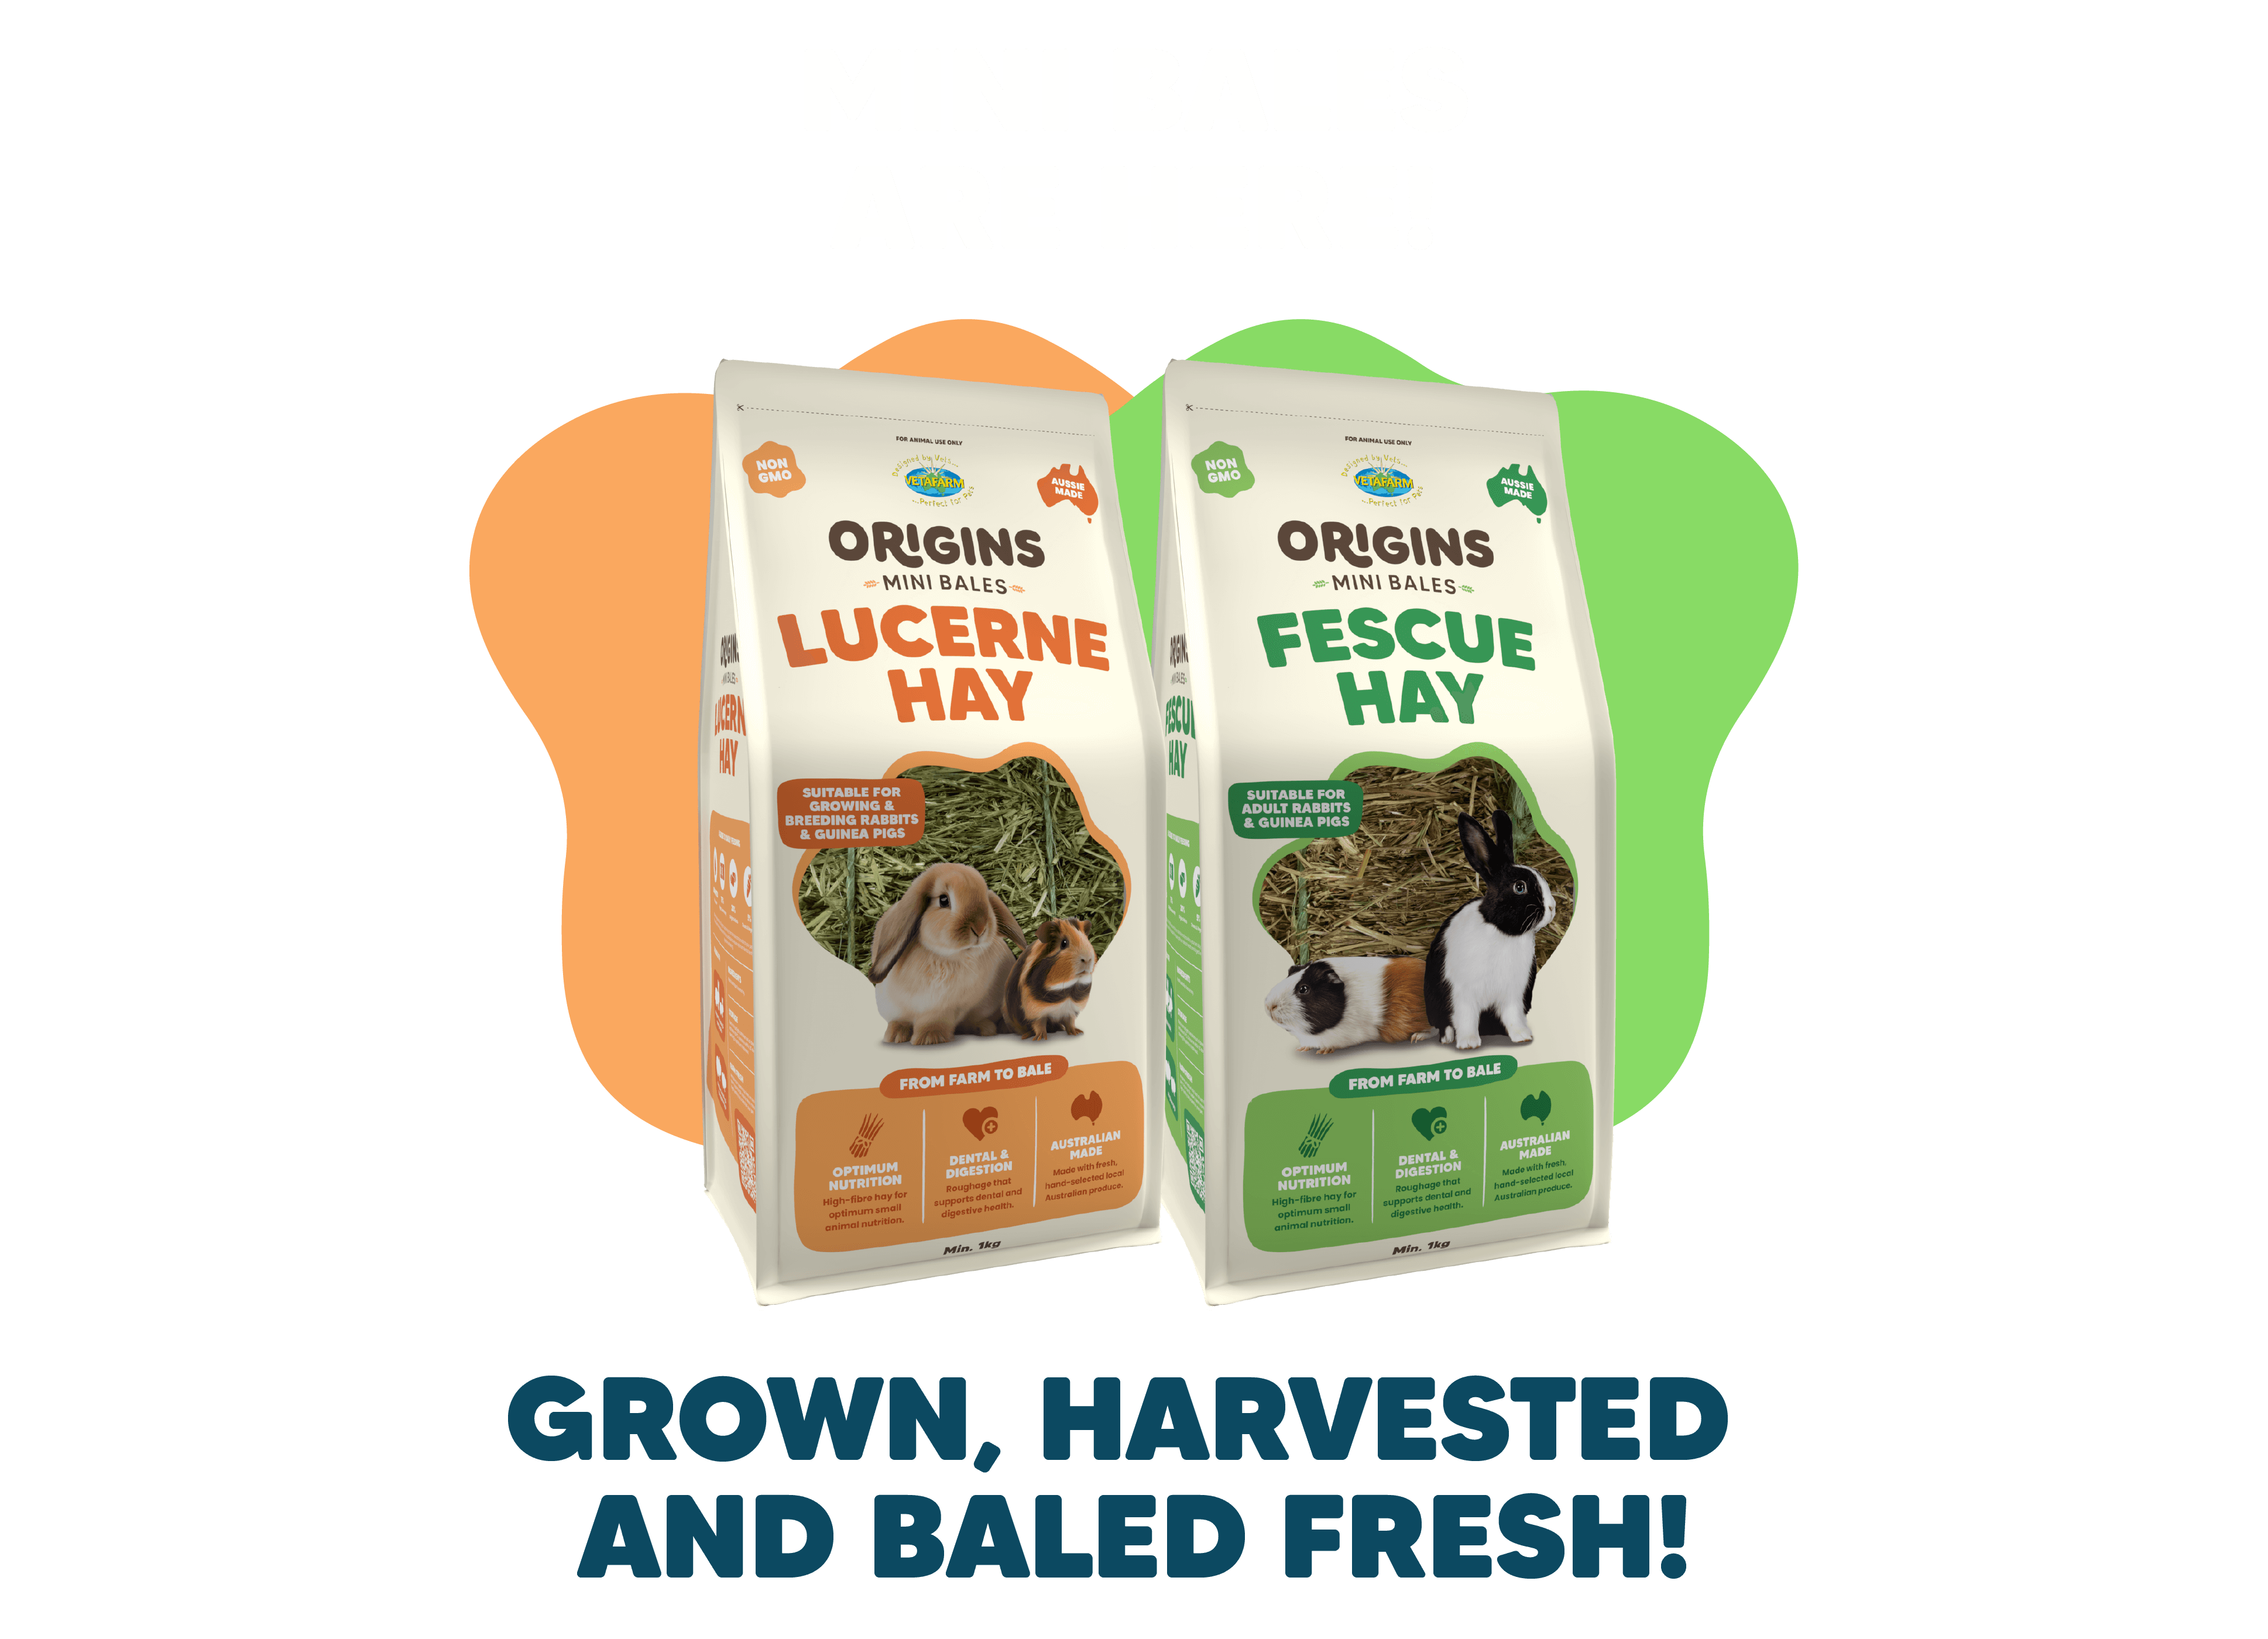
ORIGINS MINI BALES
ORIGINS MINI BALES
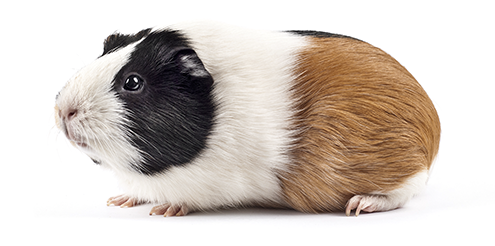
Our Lucerne and Fescue Hay Mini Bales are a compact bale perfect for rabbits and guinea pigs.
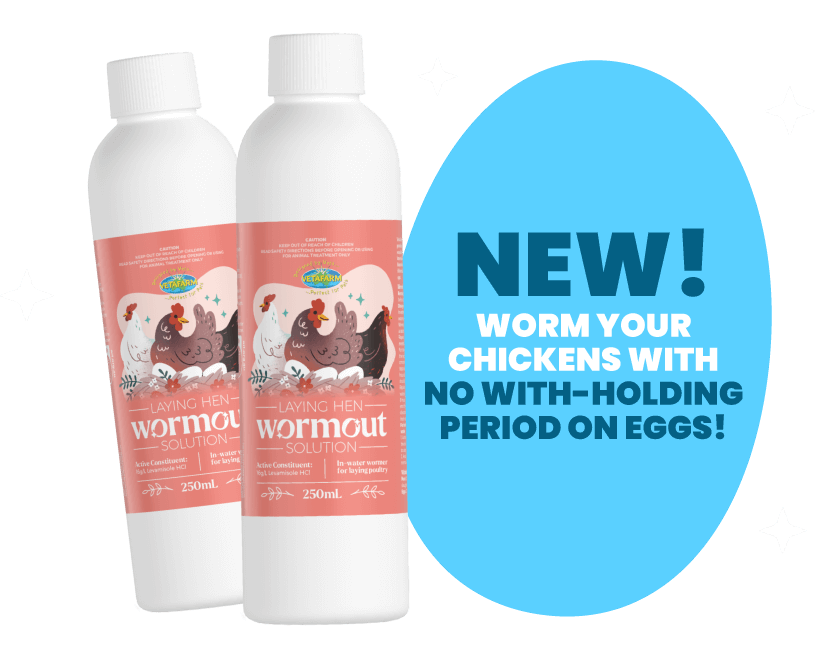
NEW!
Laying Hen
Wormout Solution
Laying Hen
Wormout Solution
This in-water wormer will keep your chickens safe from large roundworm, caecal worm and hairworm. No with-holding period means you can enjoy their eggs straight away!
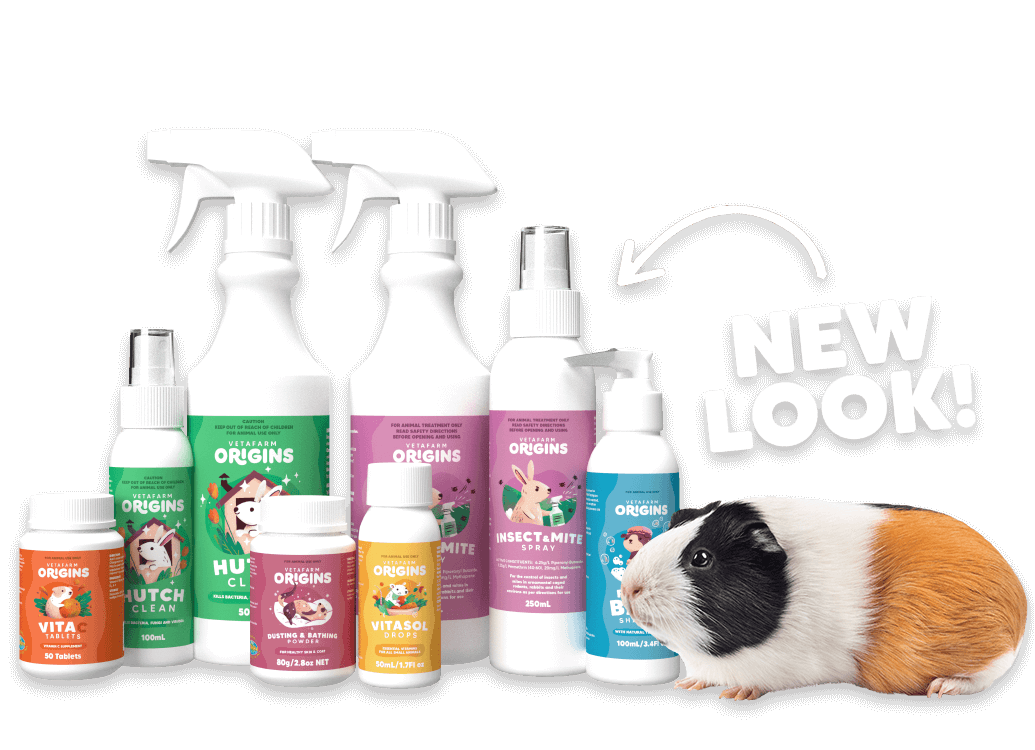
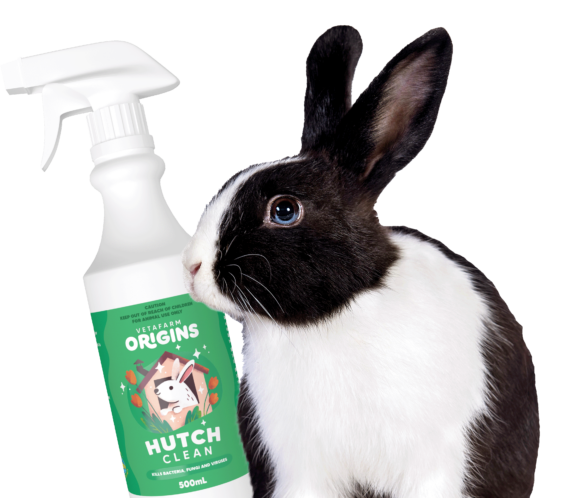
NEW PACKAGING!
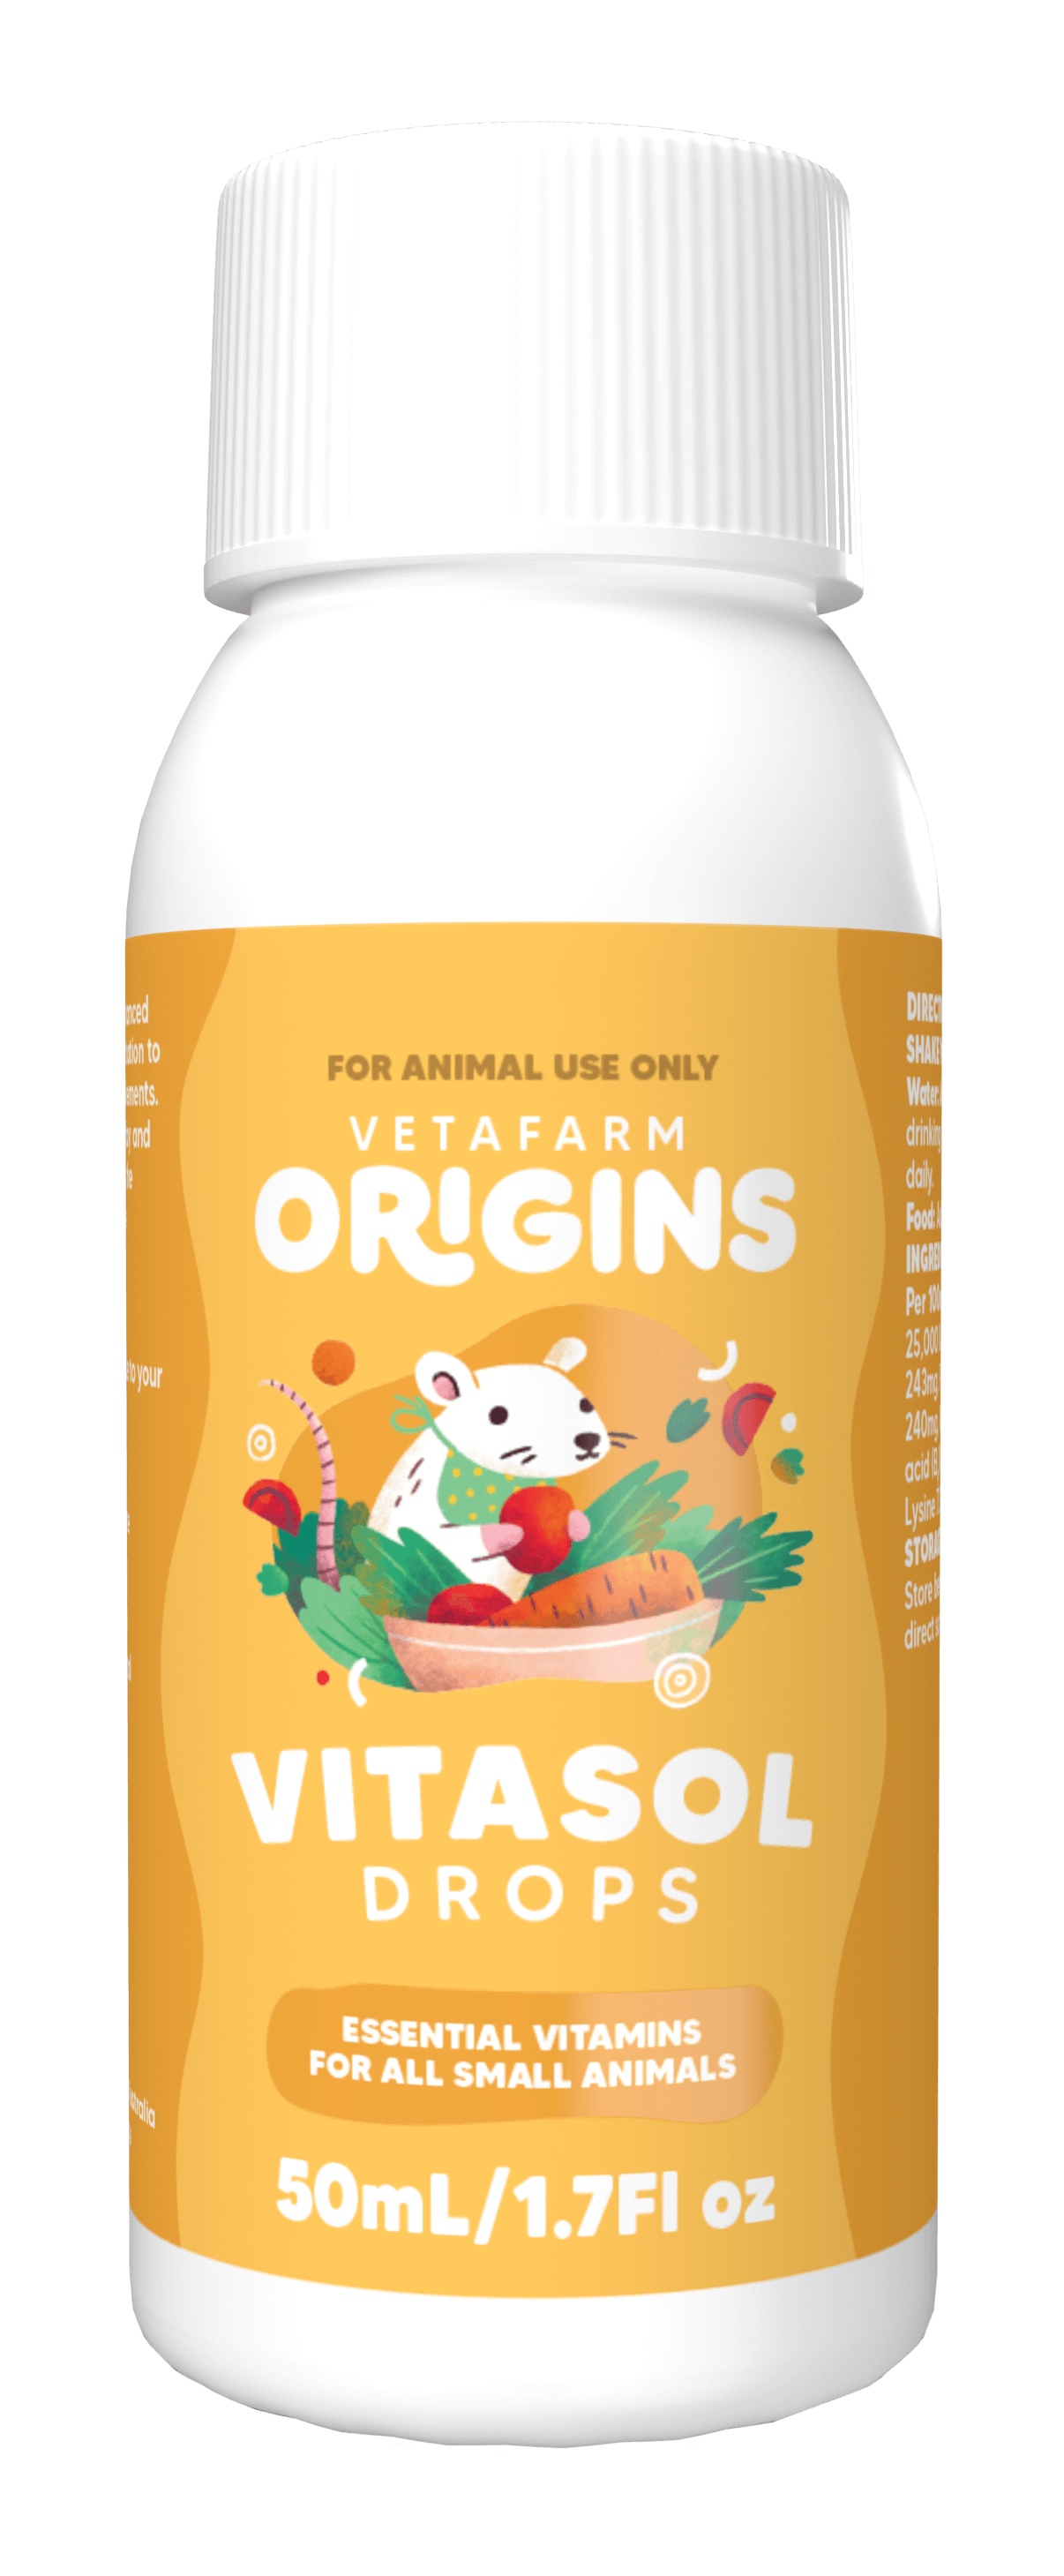
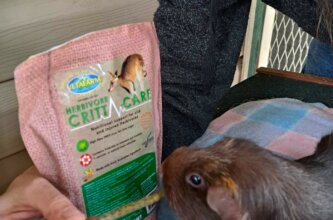
Check out our refreshed packaging for our Origins Small Animal Range! From health supplements to grooming and parasite control - we've got your furry friends covered!
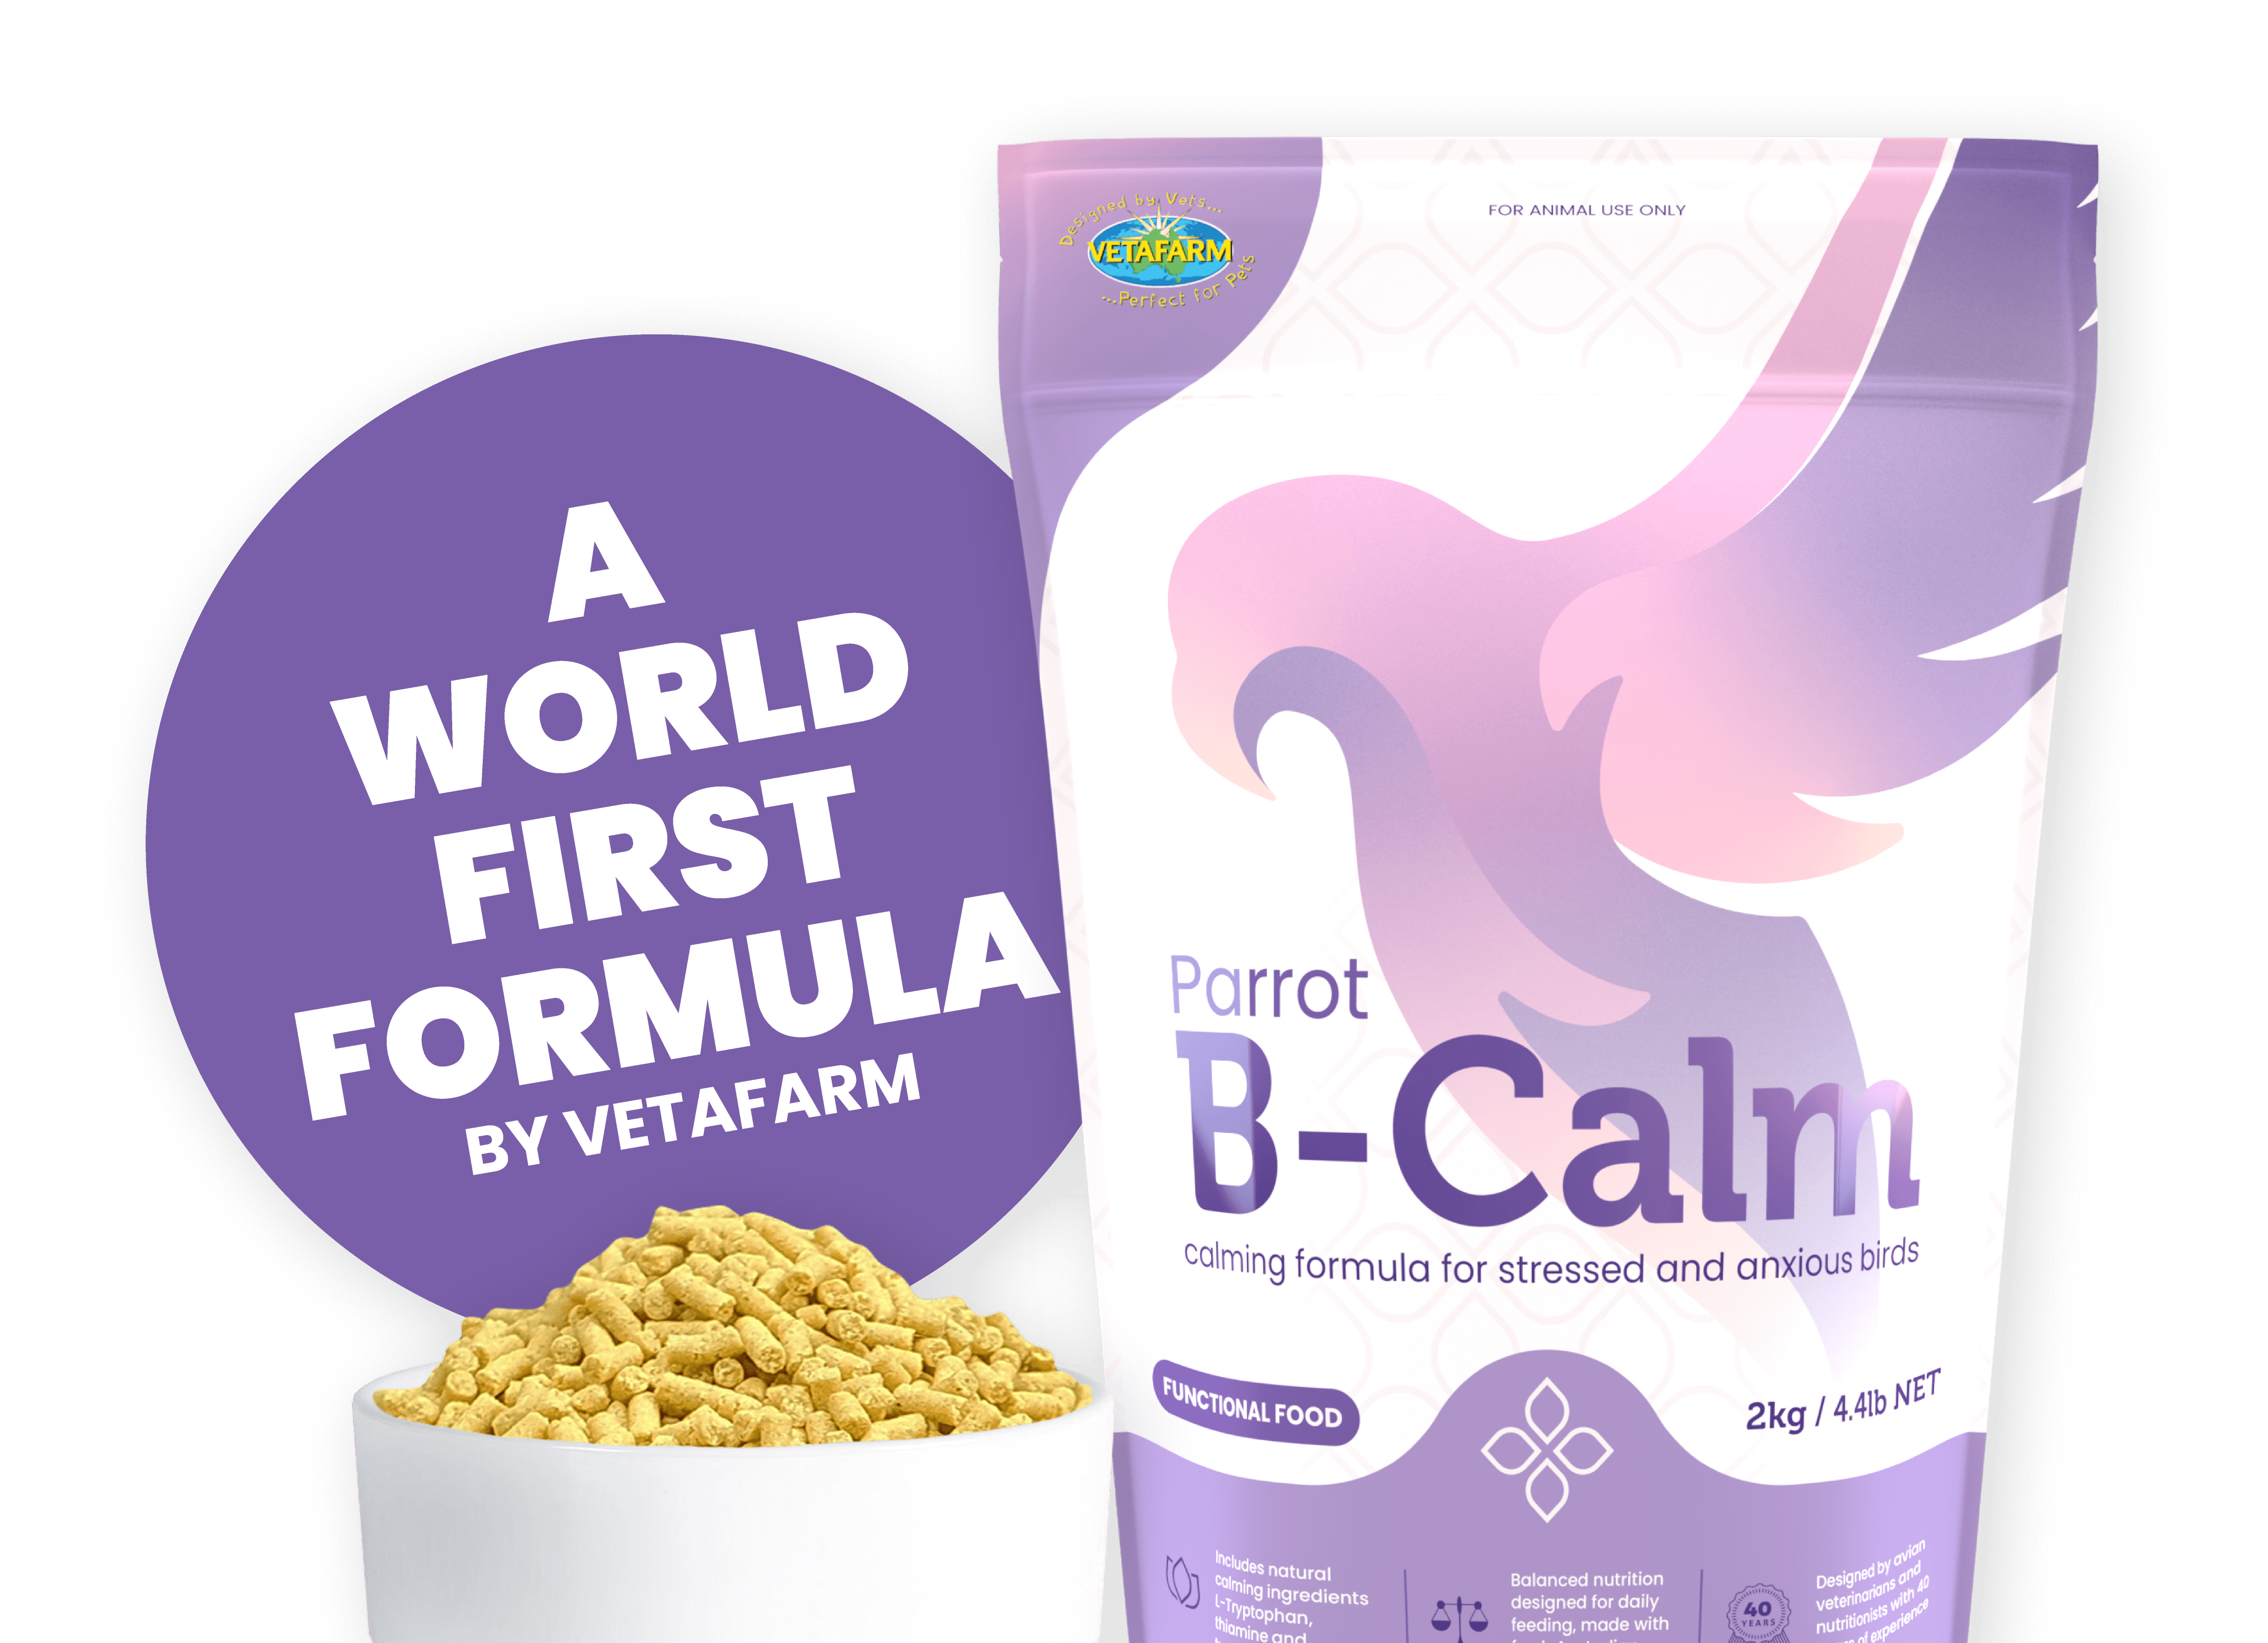
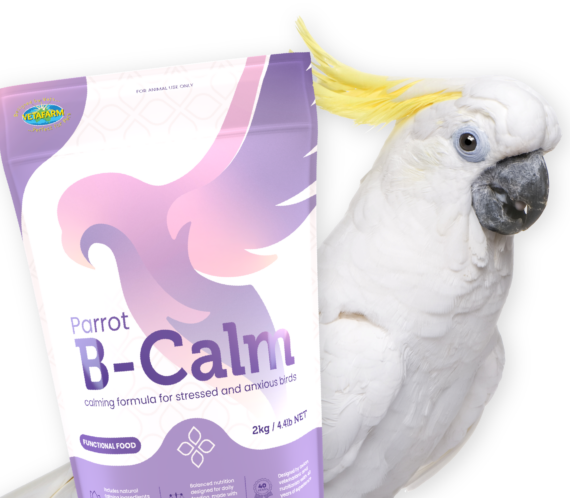
INTRODUCING
PARROT B-CALM
PARROT B-CALM
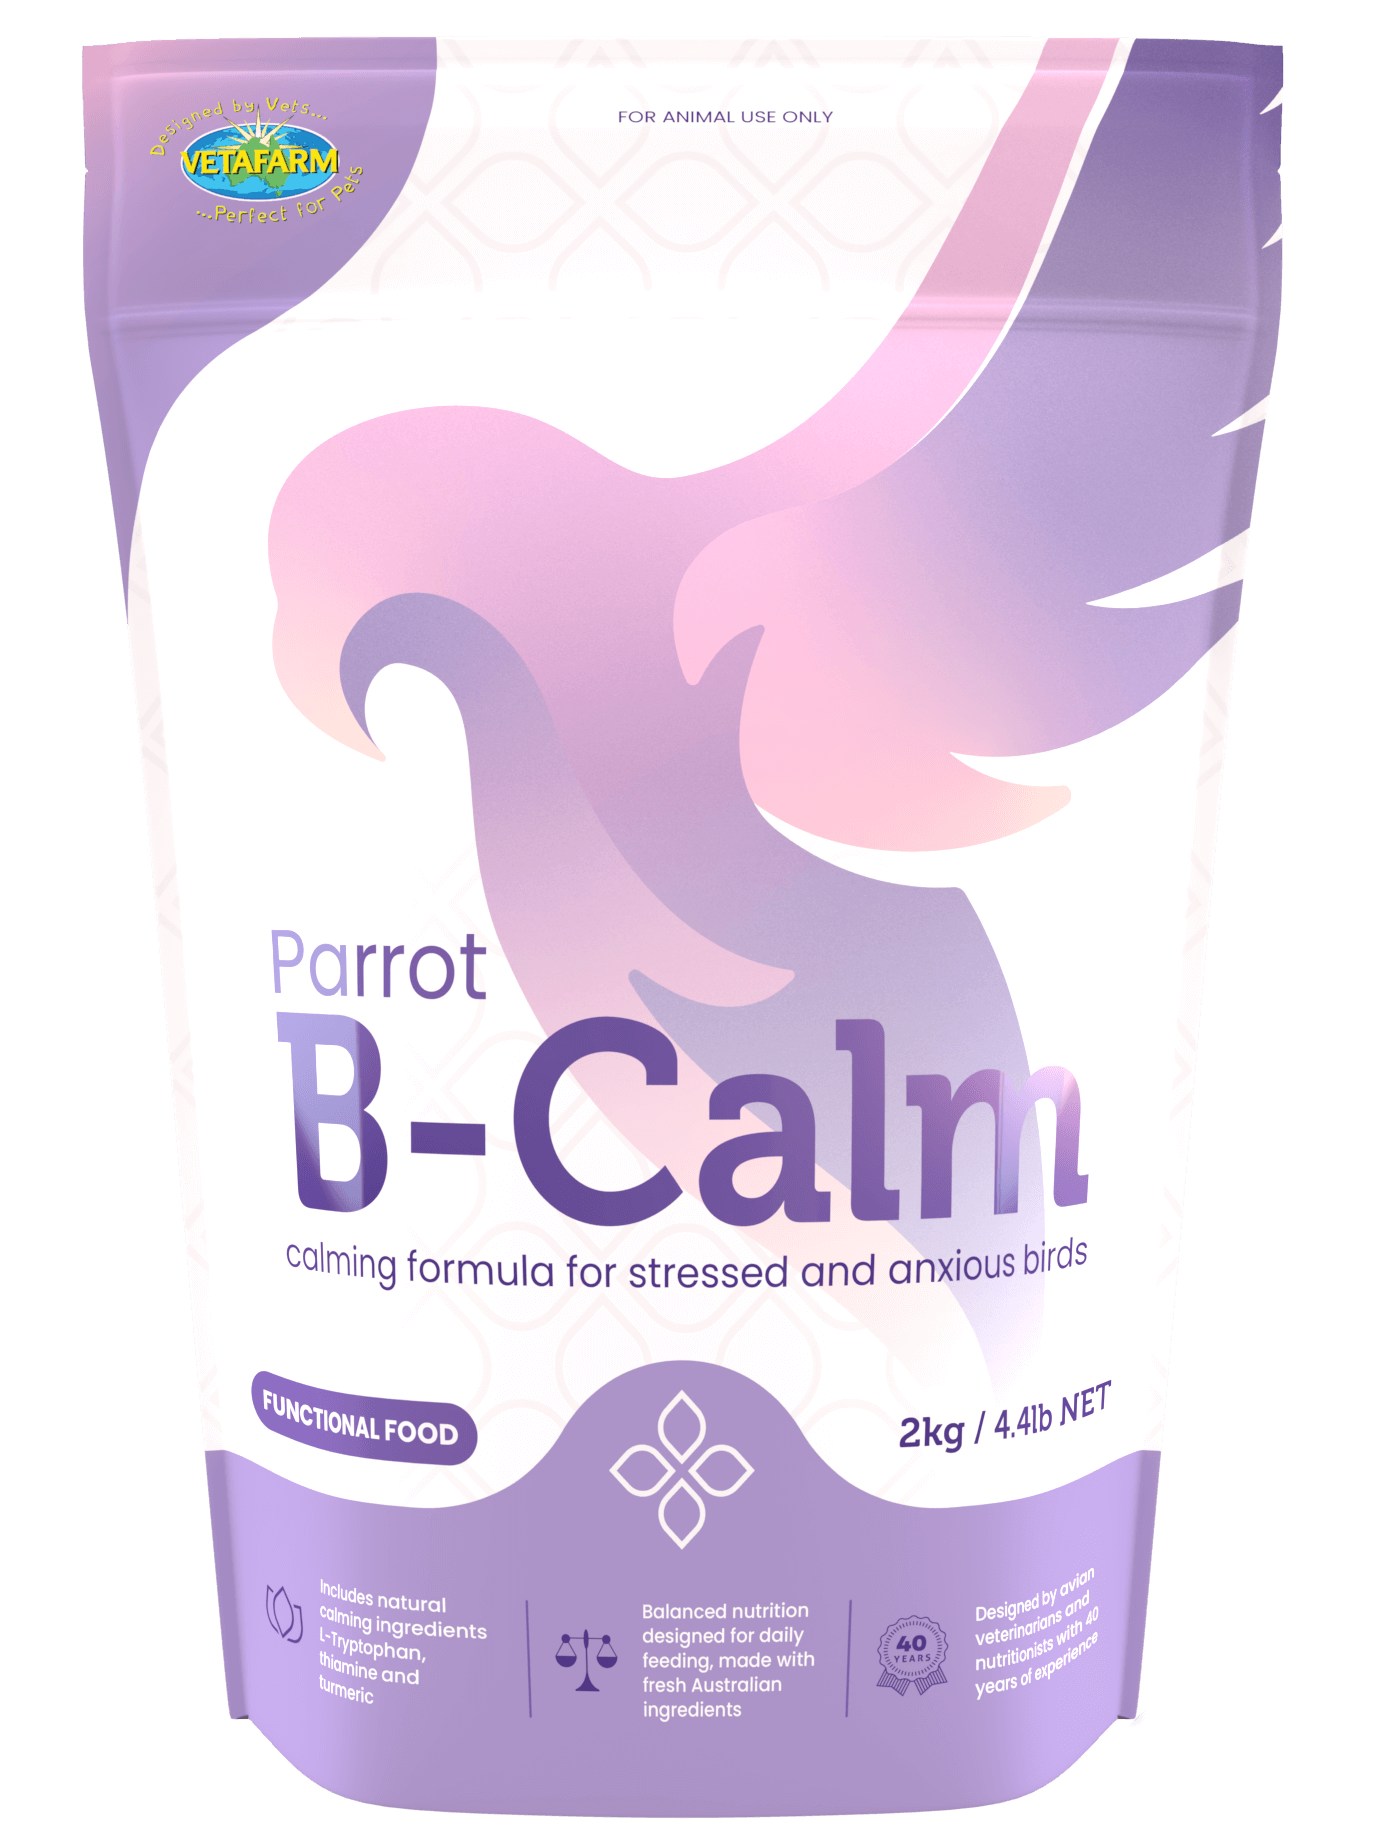
The world's first complete diet for parrots that aids in the relief of stress and anxiety.